1. Scene
This is the area where you will add and animate the different elements that will be visible in your wideo.

2. Scene Panel
From this panel, you can select the scene you want to edit; change scene order; add, duplicate, or remove scenes; save scenes as favorites; and add scene templates.

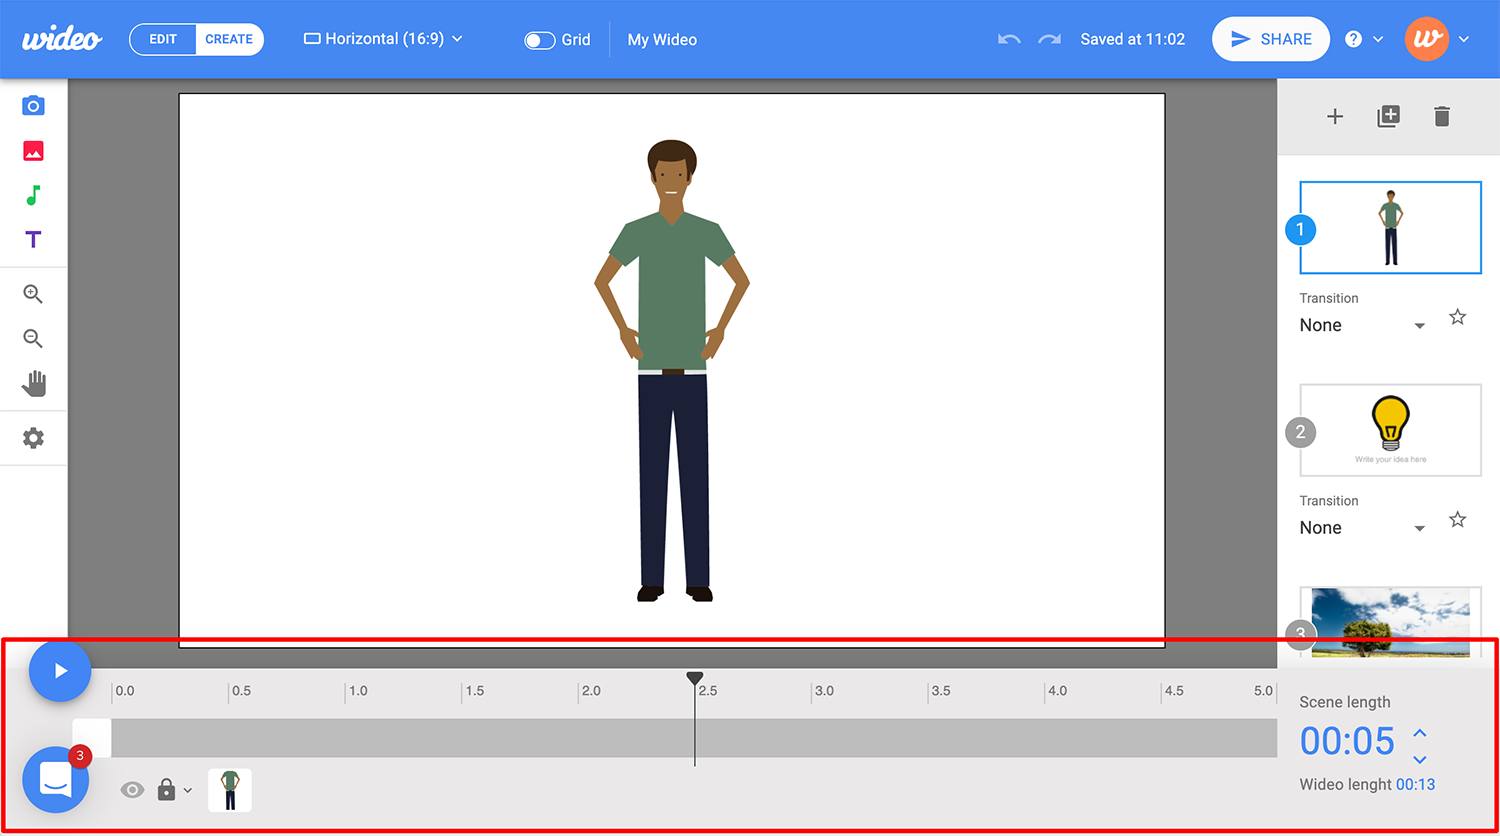
3. Timeline
The timeline visually represents the object duration and behavior in the scene, where you will be able to adjust your animations and scene length. Here you can also hide, show, lock, and unlock objects.
4. Toolbar
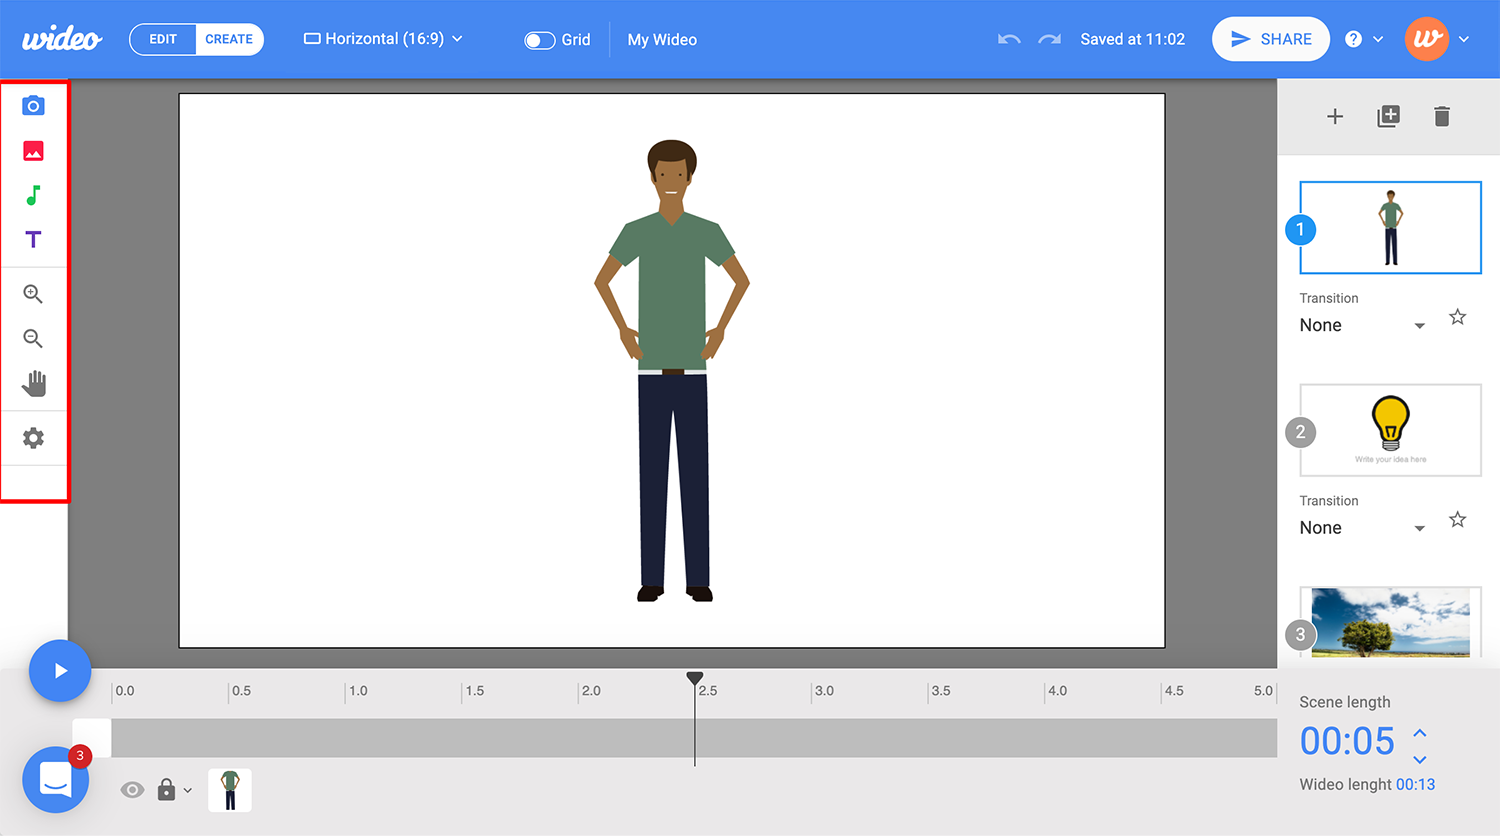
Use the toolbar to add the different kinds of elements you need to create your wideo, such as images, texts, backgrounds, and sounds. You'll also find the zoom in/out and navigation tools here.
5. Object toolbar
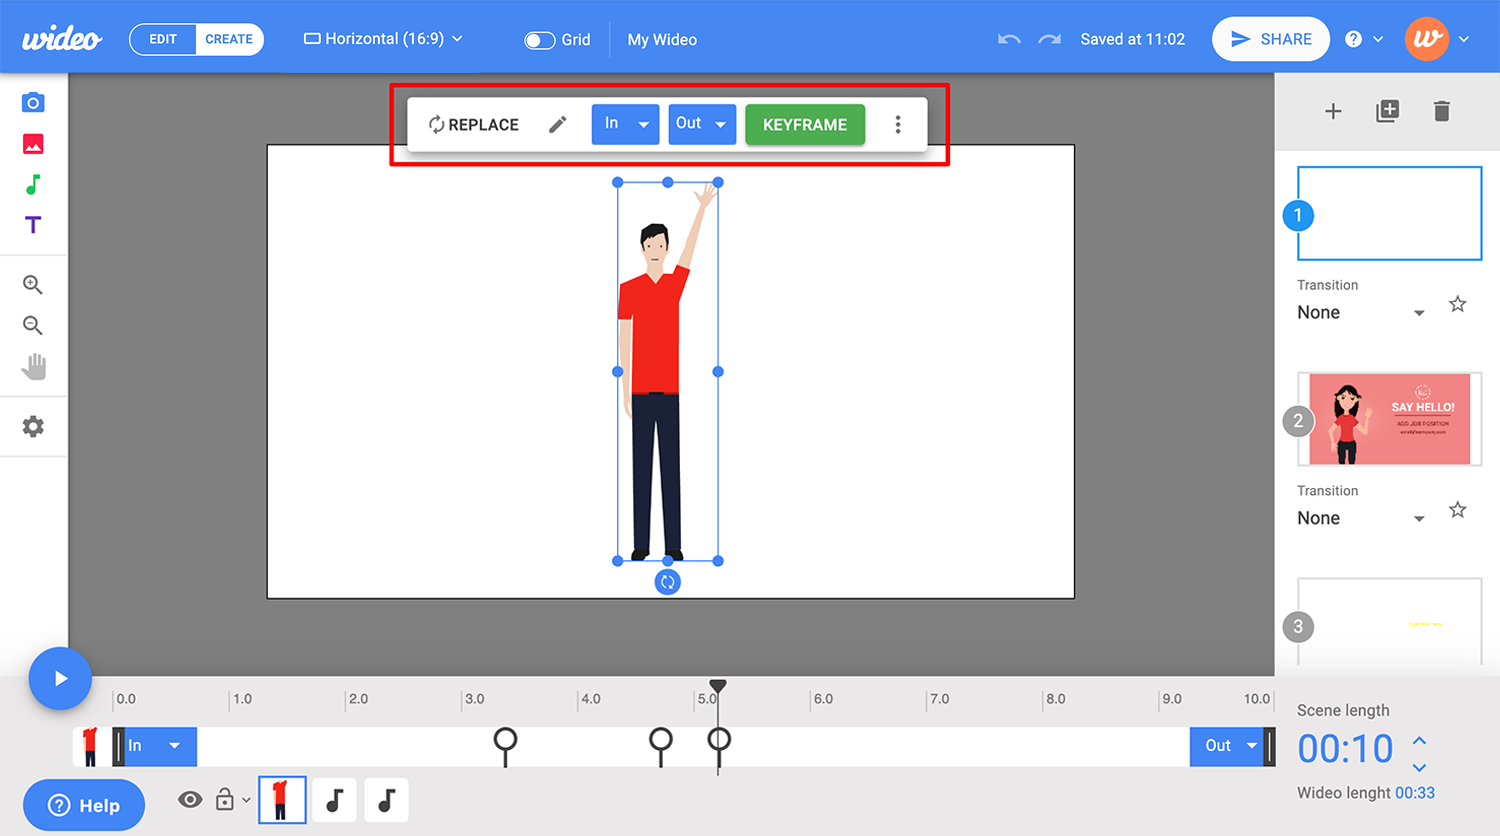
The toolbar appears near to the selected object, showing the most useful features you may want to apply to the object. Read more about the object toolbar here.
6. Properties panel
This panel appears when you click the "three-dots-button" from the object toolbar or when you select something like a keyframe or sound, with settings that can be edited (eg: colors, sound volume, loop, fade, start or end-time for animations, keyframes, etc)

7. Top-bar tools

From the top-bar you can:
- Manually save changes: your changes are auto-saved every 3 minutes to ensure all your work is safe, but you can click this button to manually save your most recent changes. Every time a saved is performed, you will see the legend "Saved at hour:minute," showing the exact time the last changes were saved.

- Undo/Redo: undo or redo actions that you have performed.

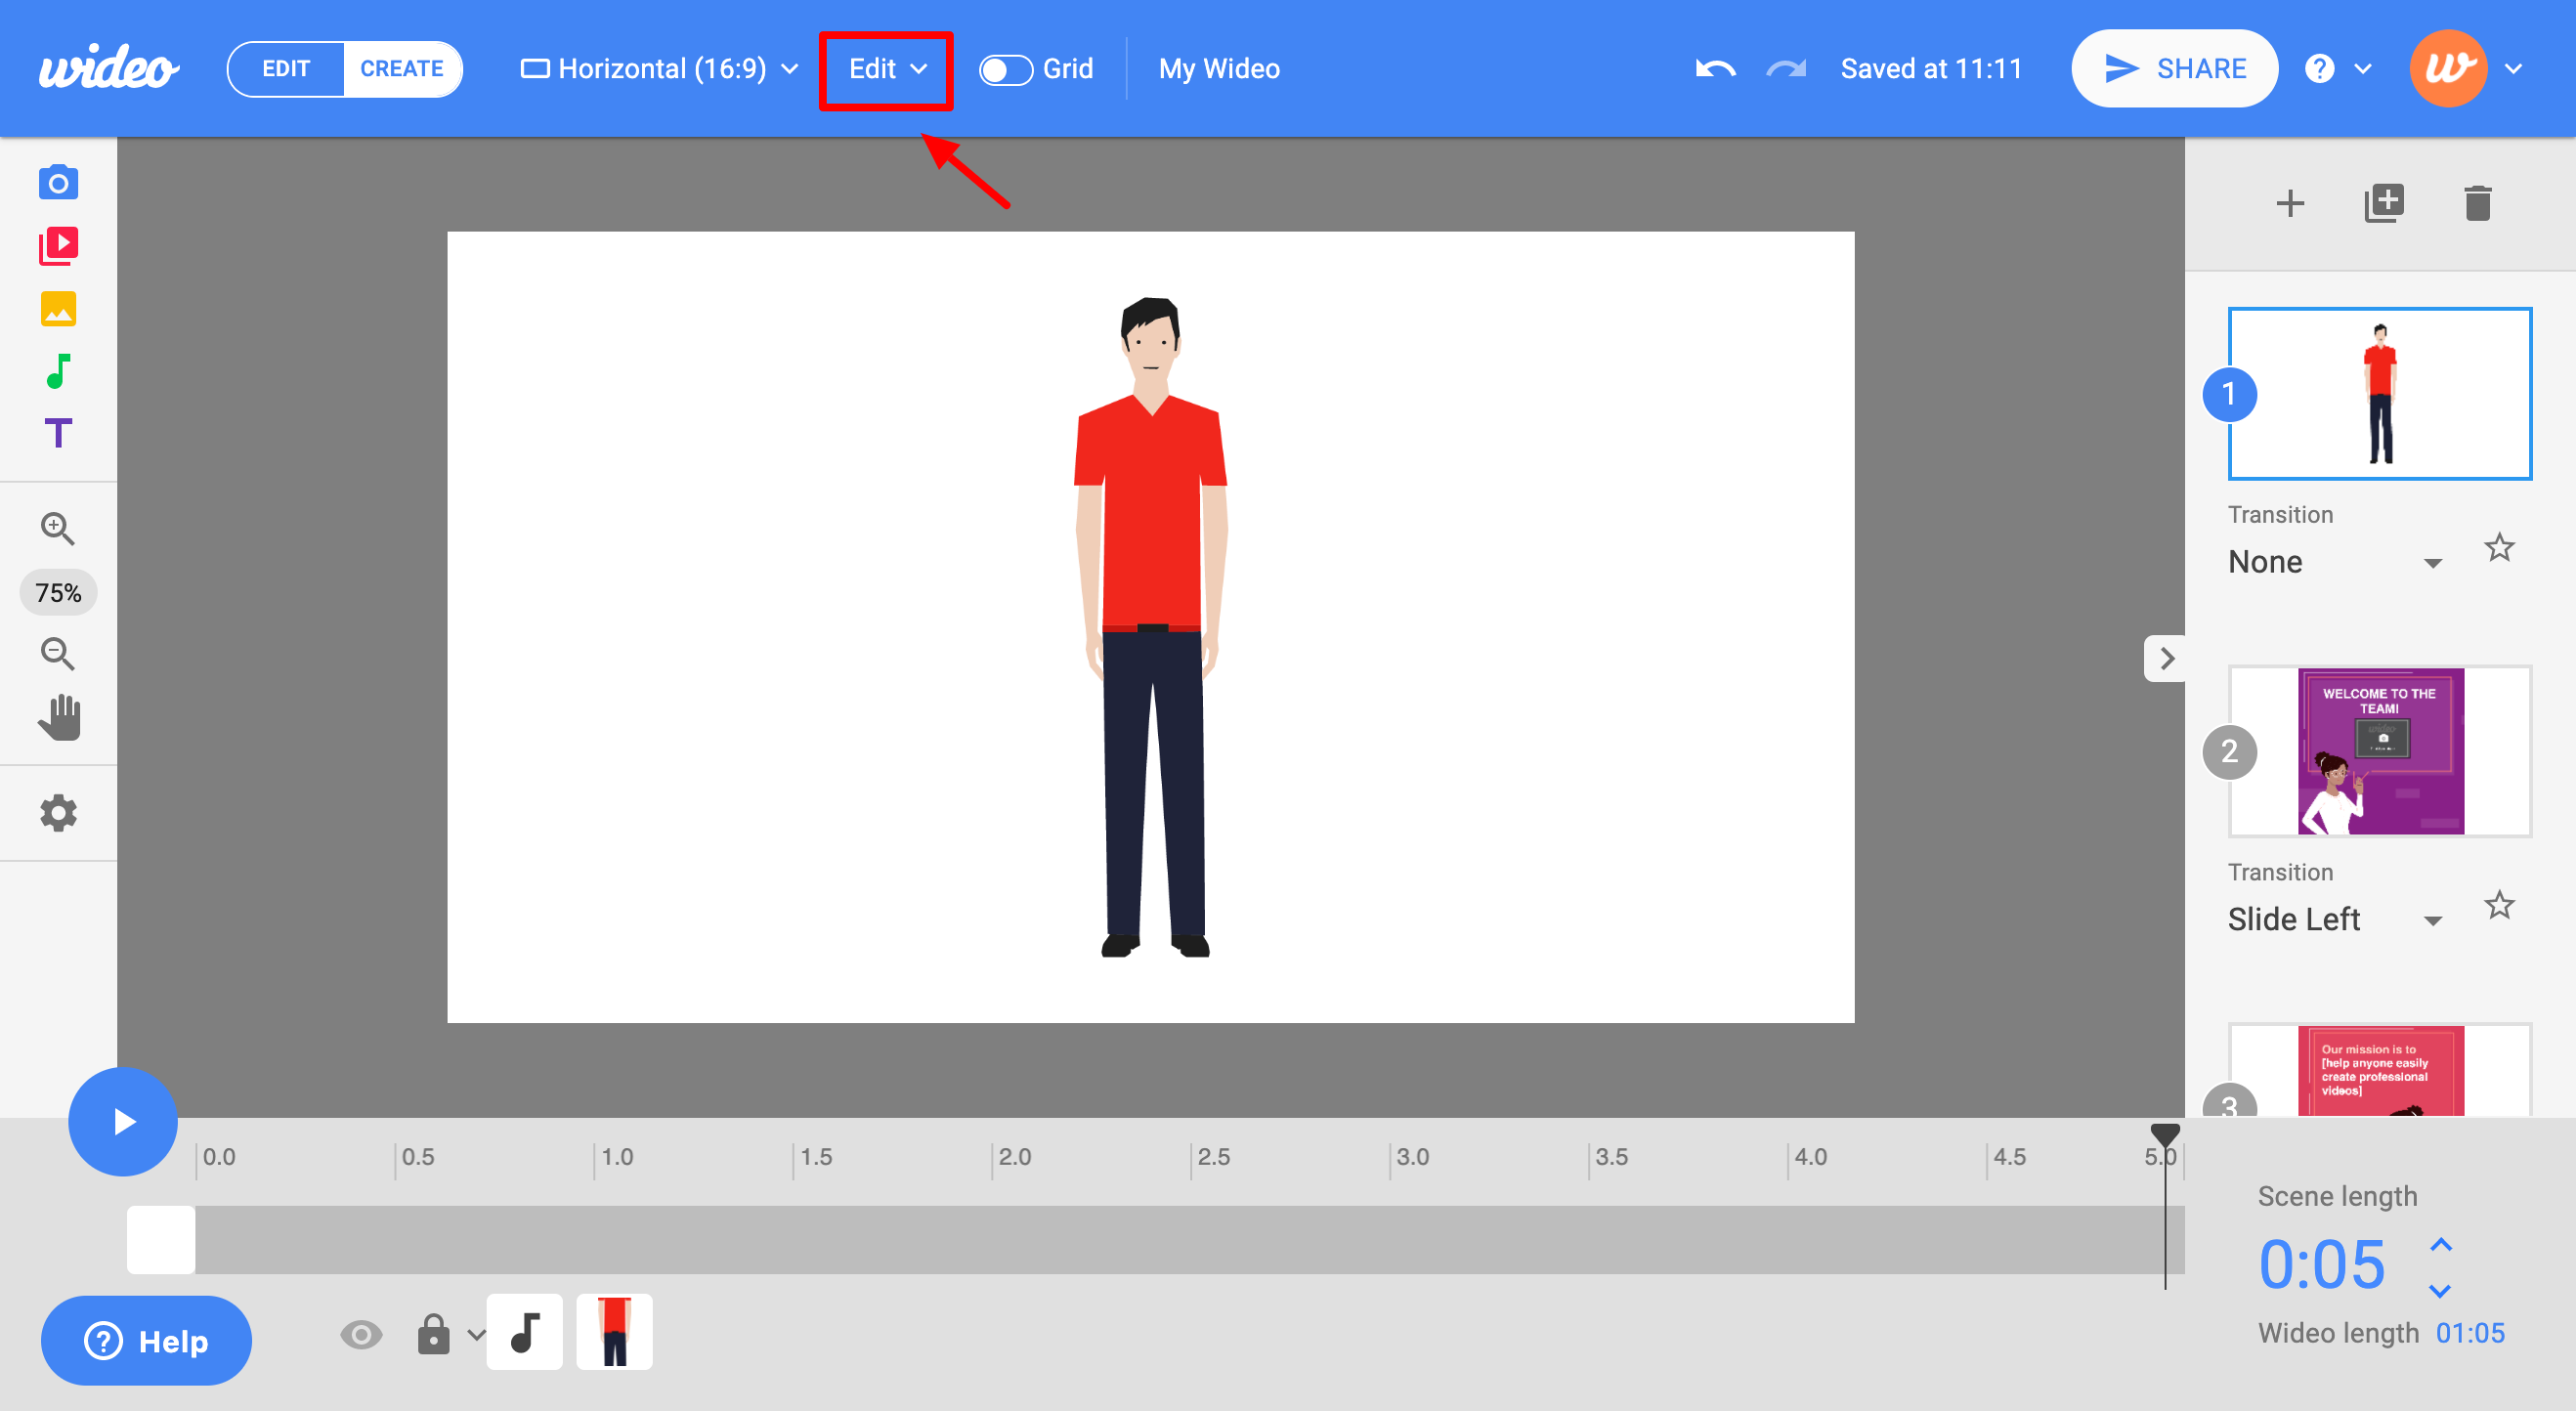
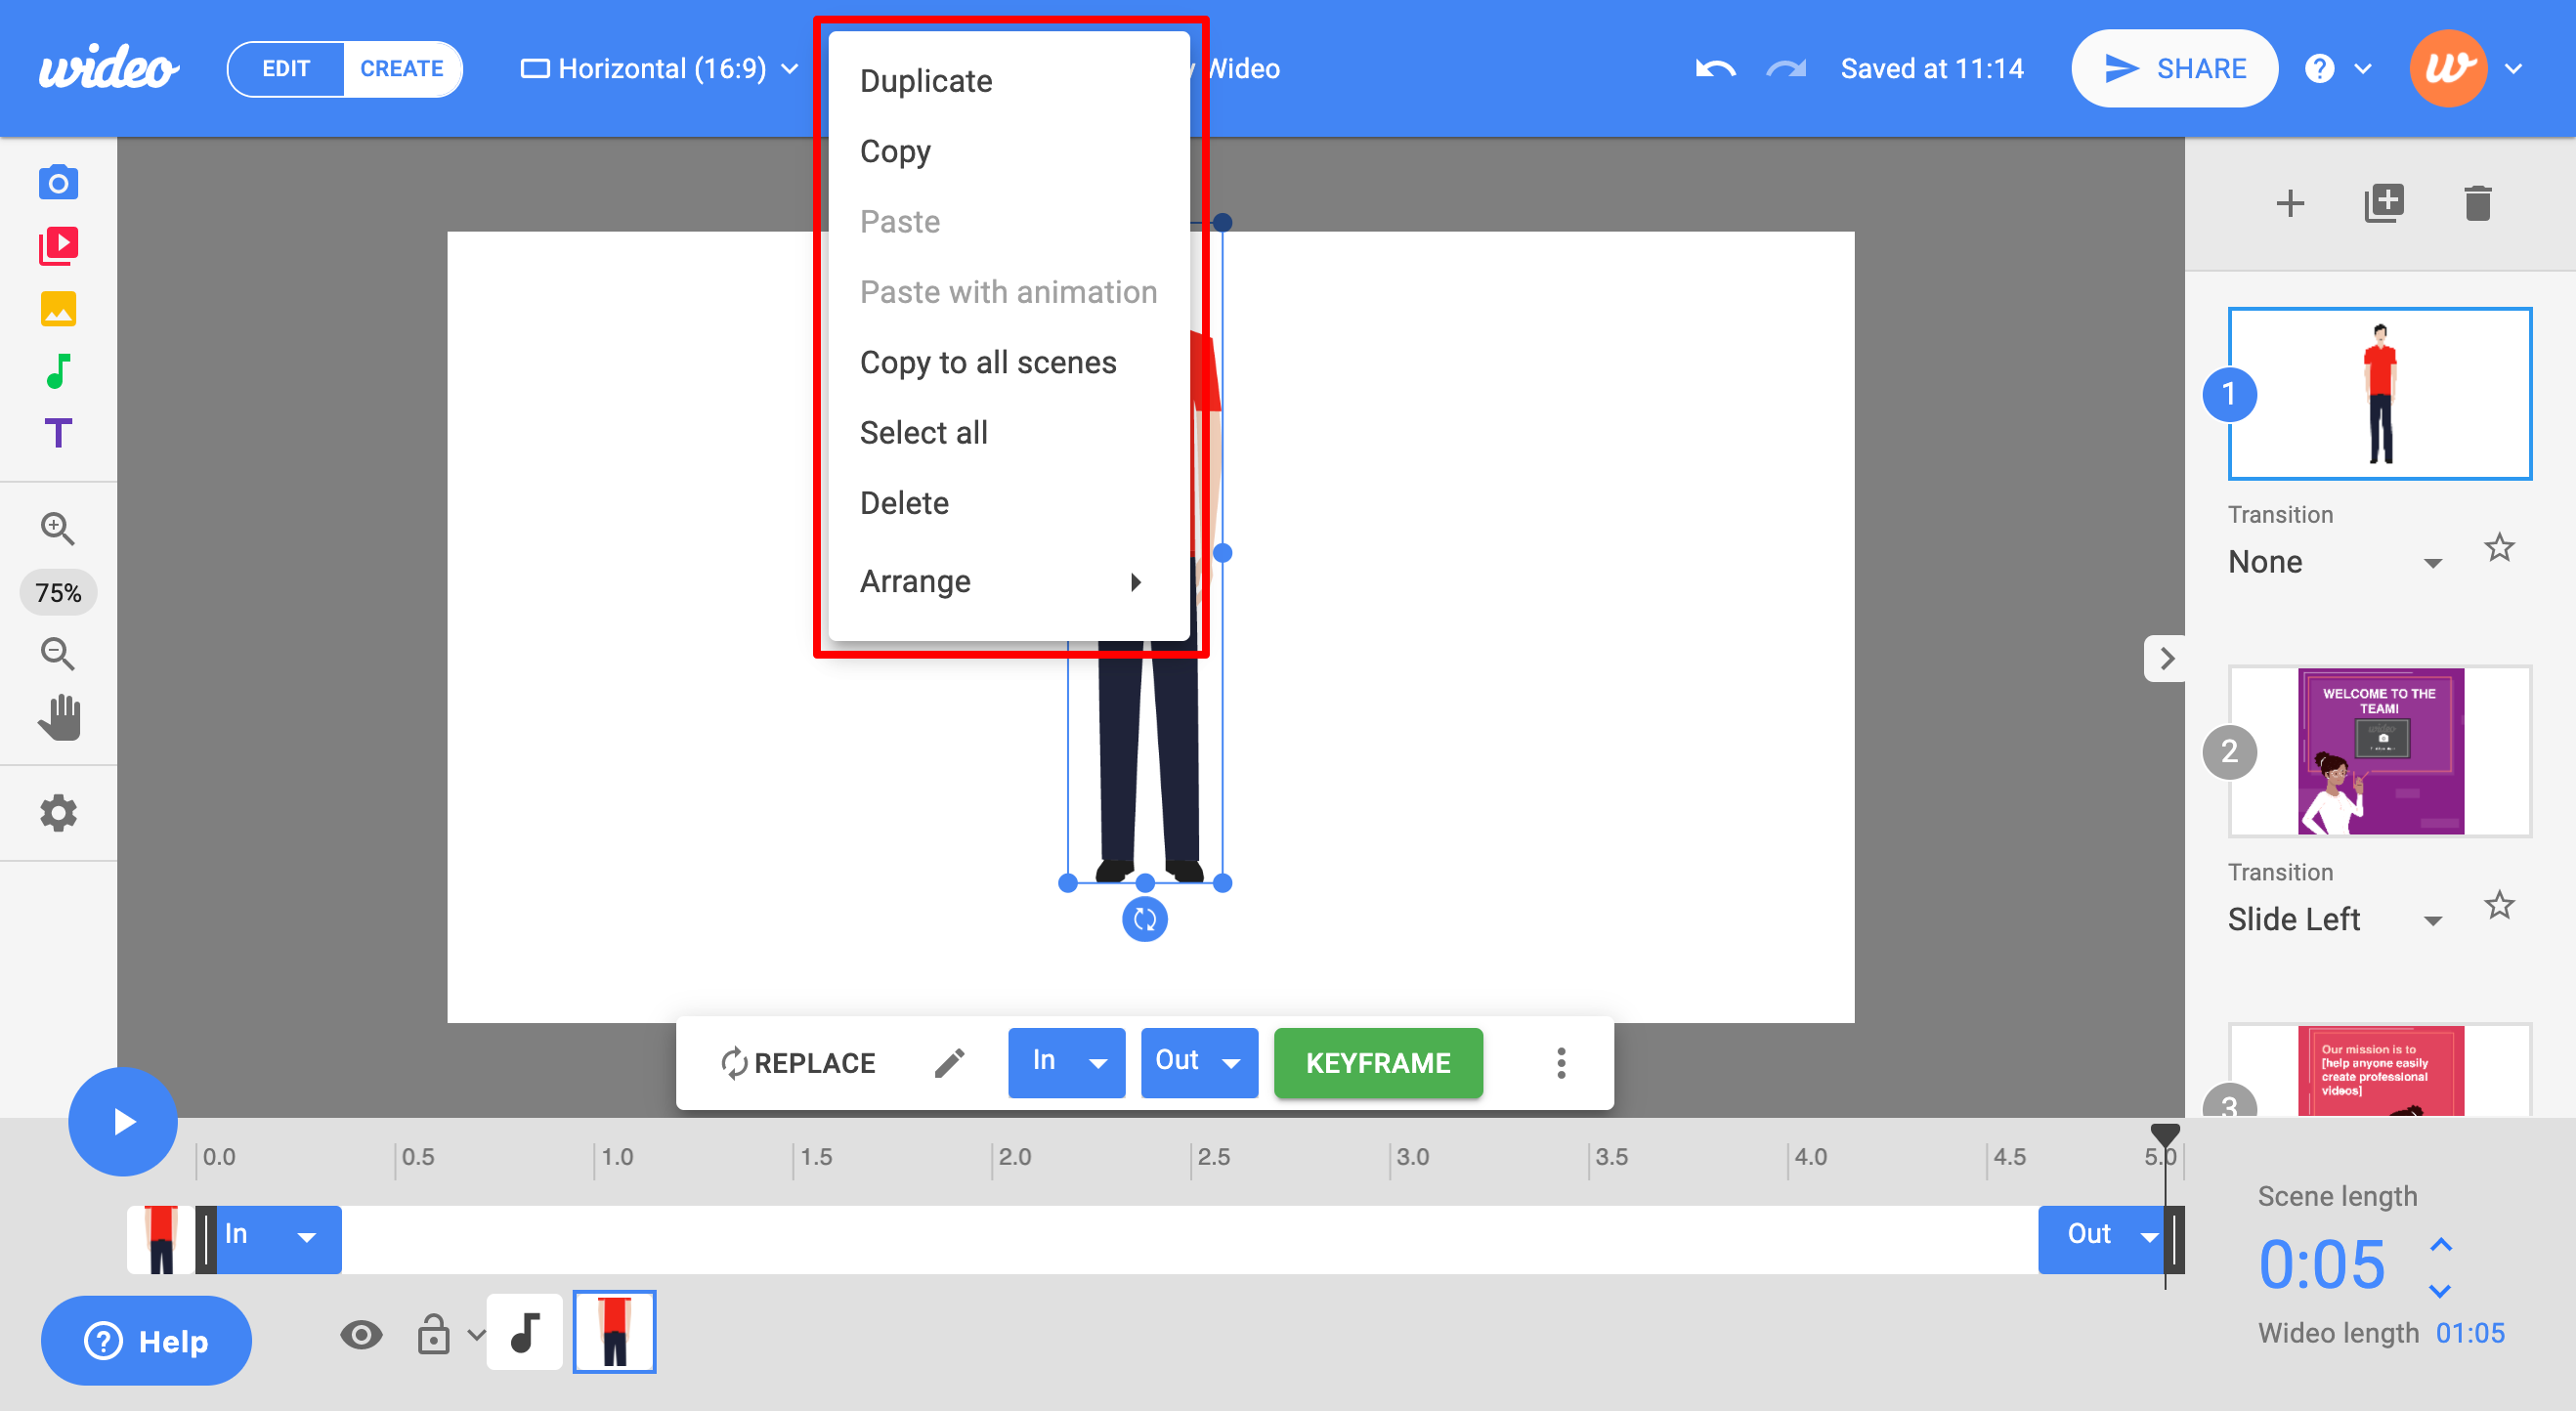
- Edit: in this menu, you will find the actions you can perform on the selected object, including duplicate, copy, paste, paste with animations, and select all scene objects.
Note: these options can also be accessed by right-clicking on the object.
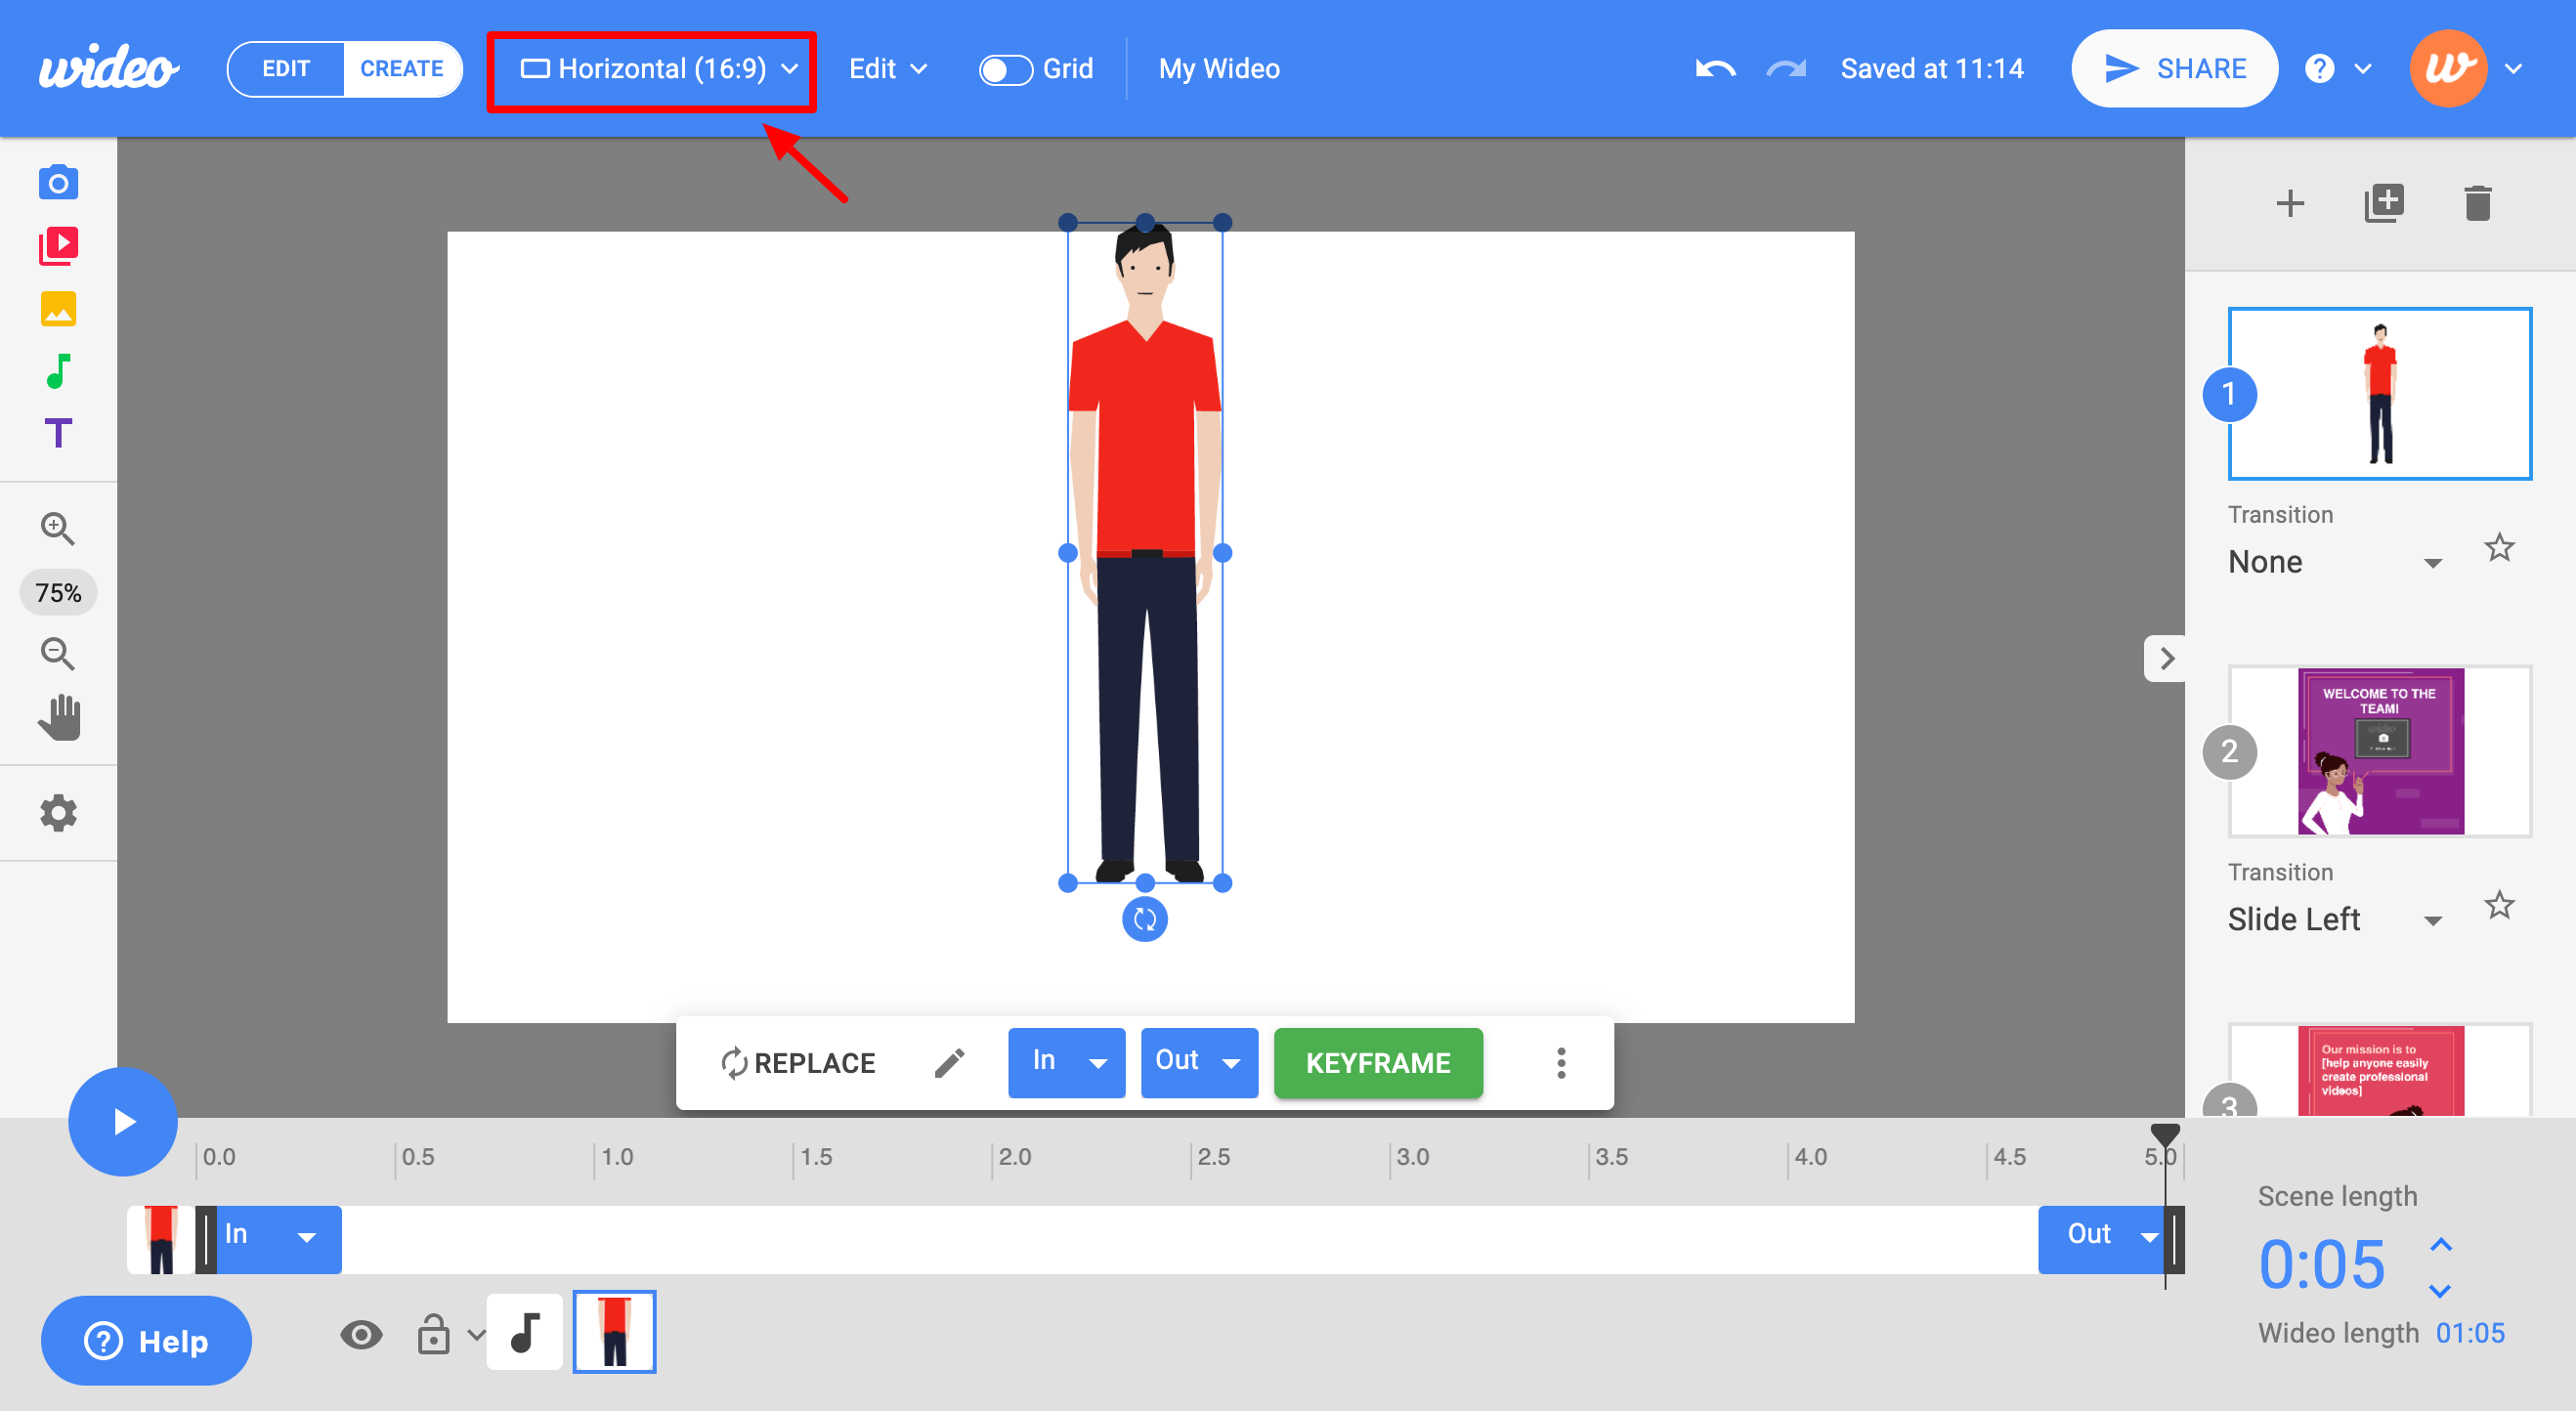
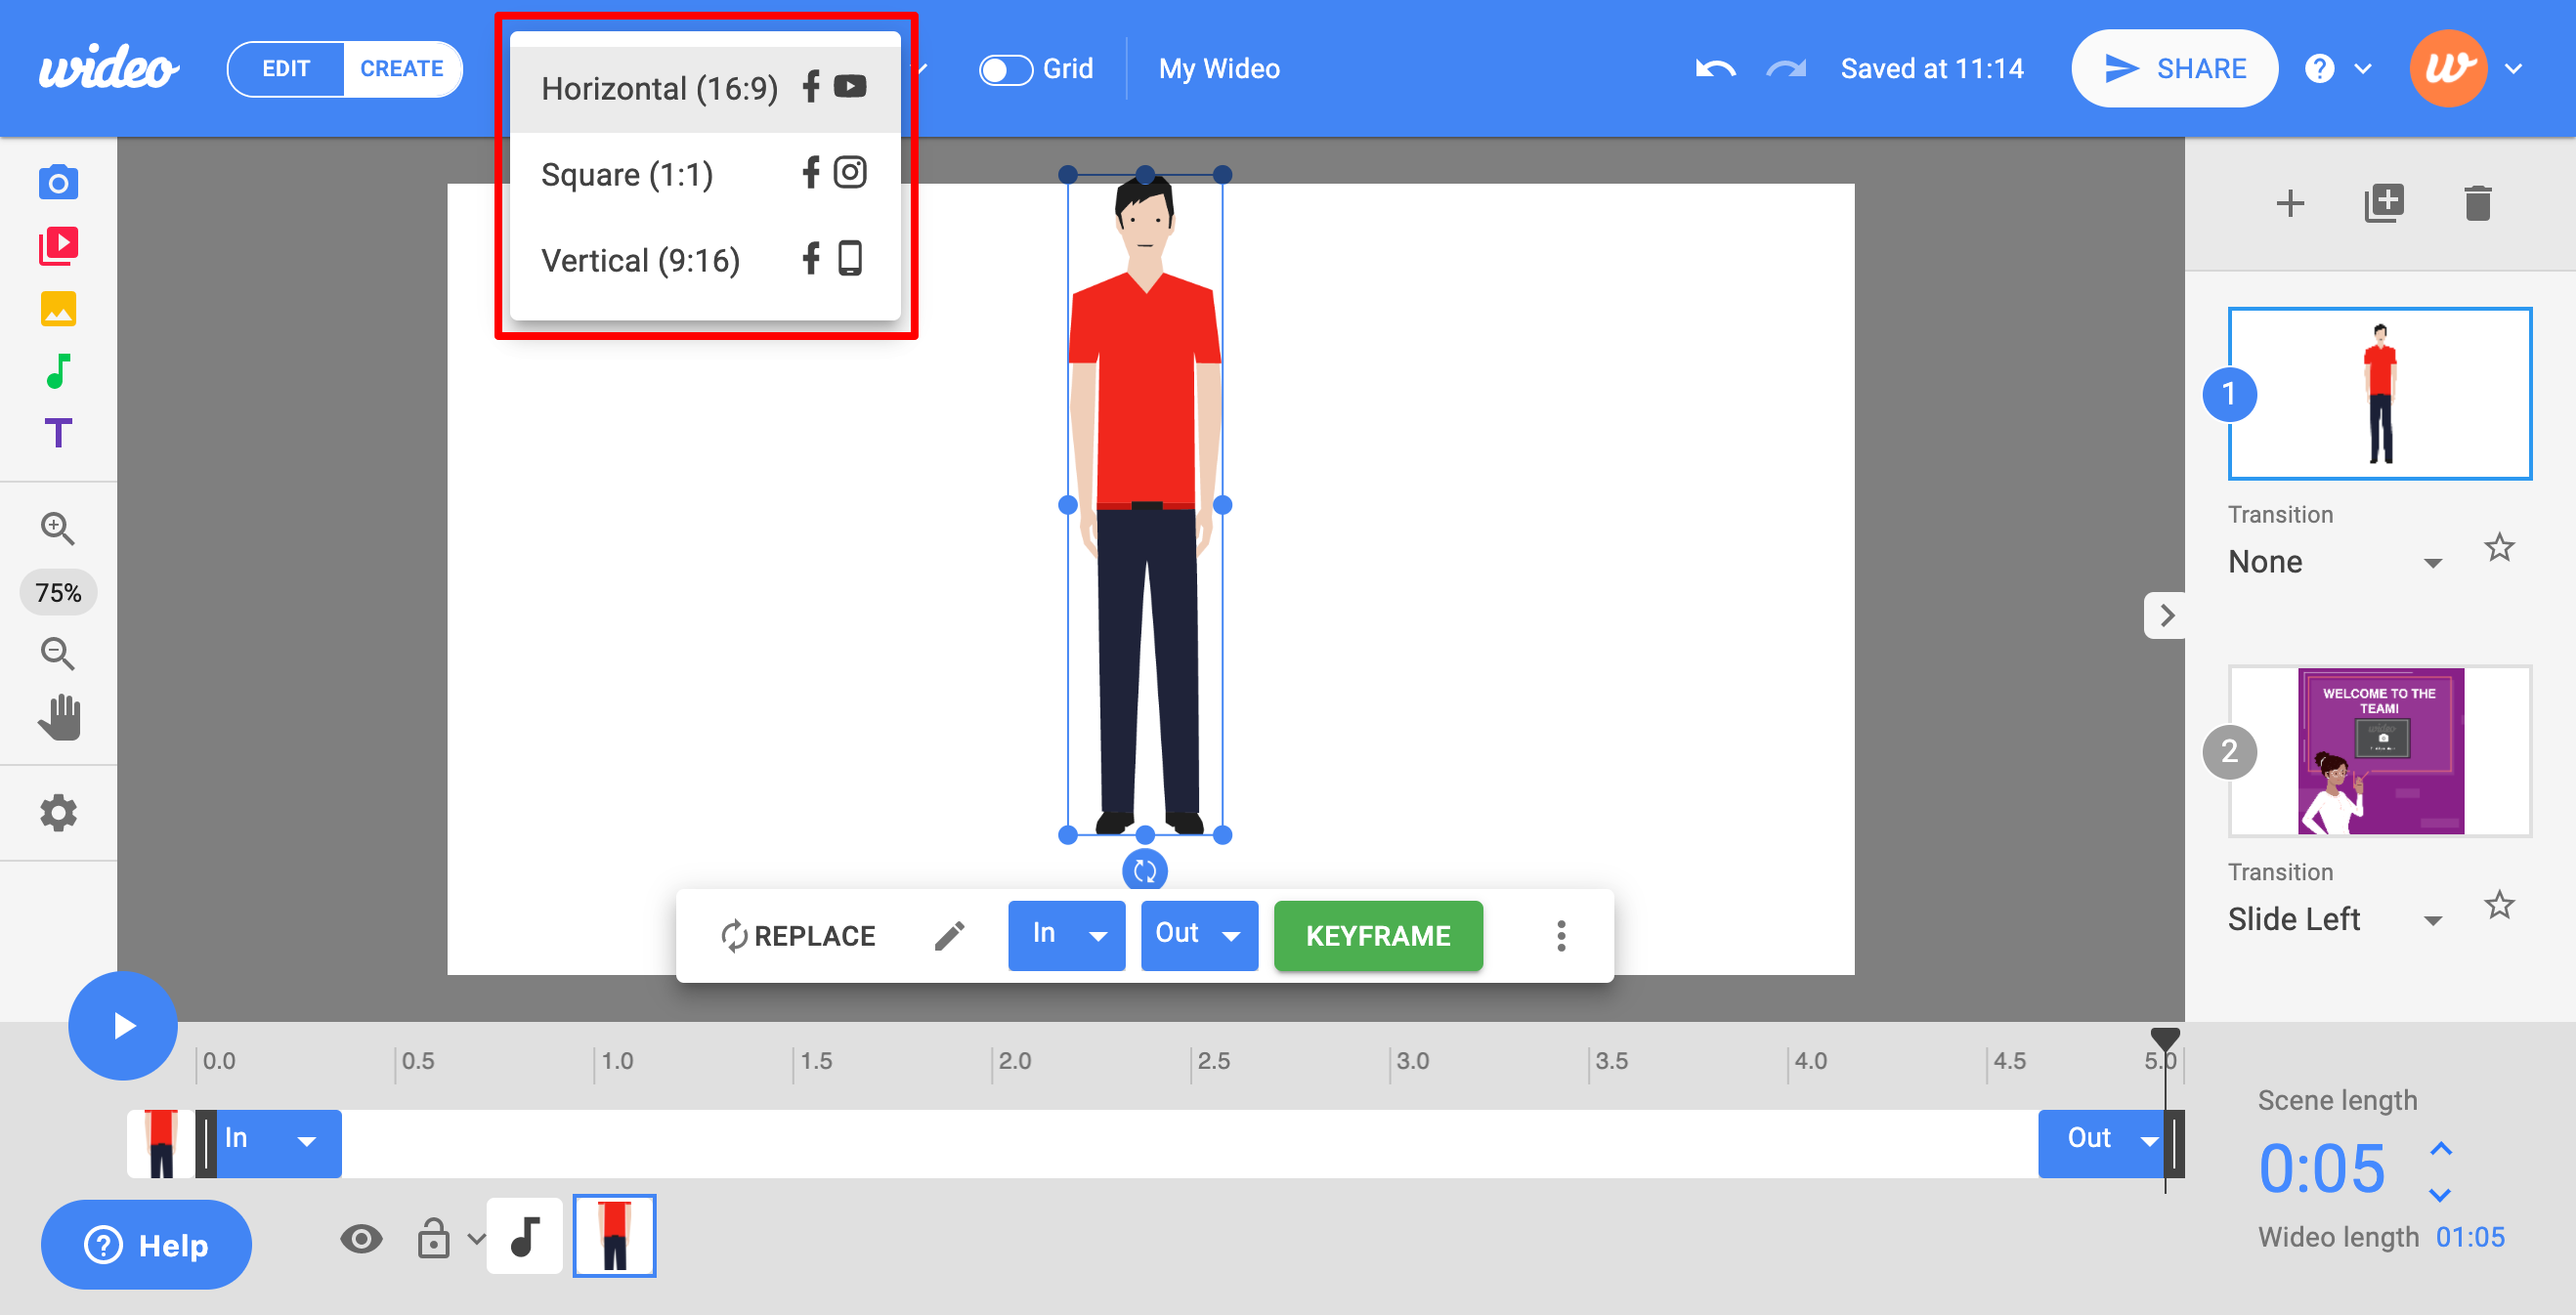
- Aspect ratio: define the aspect ratio that best matches the platform on which your wideo will be viewed.
Horizontal (16:9) > This default size aspect ratio can be used for YouTube or Facebook videos as well as videos for big screens or desktop websites.
Square (1:1) > Use this aspect ratio to create wideos for social media networks (Facebook, Instagram)
Vertical (9:16) > Use this aspect ratio to create wideos to be shown primarily on a mobile device (Instagram Stories)
- Grid: activate the grid to place and align objects.

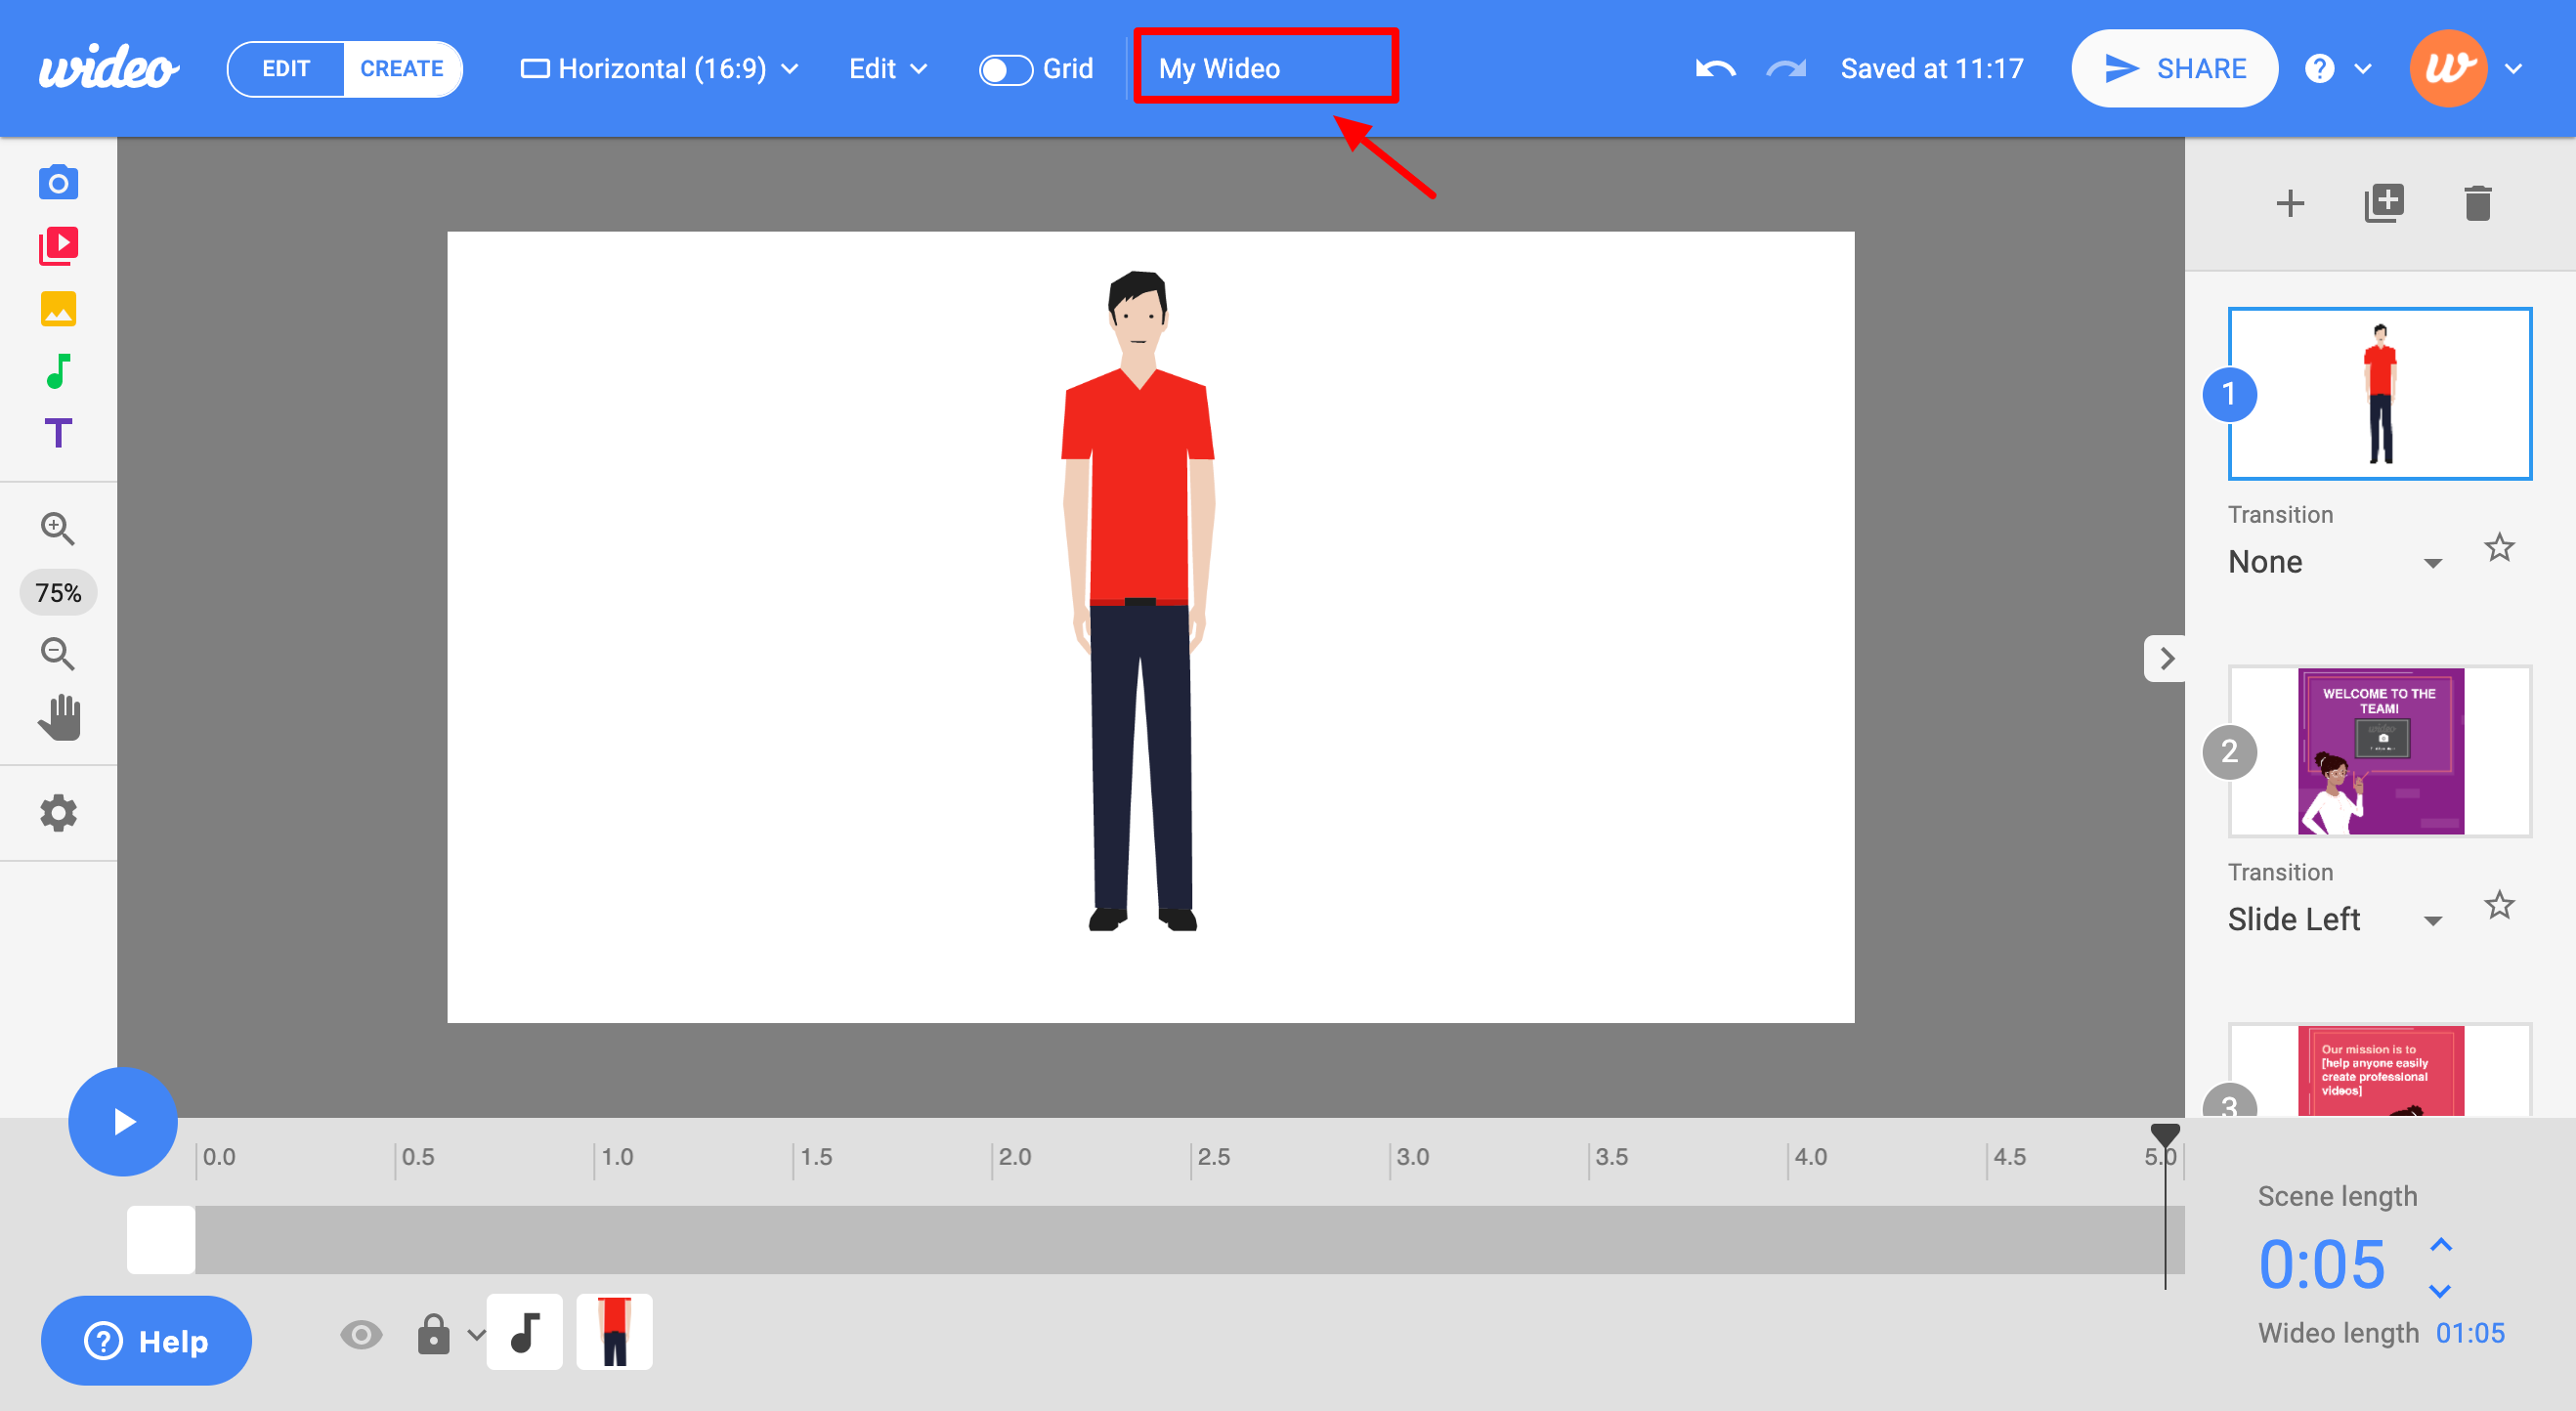
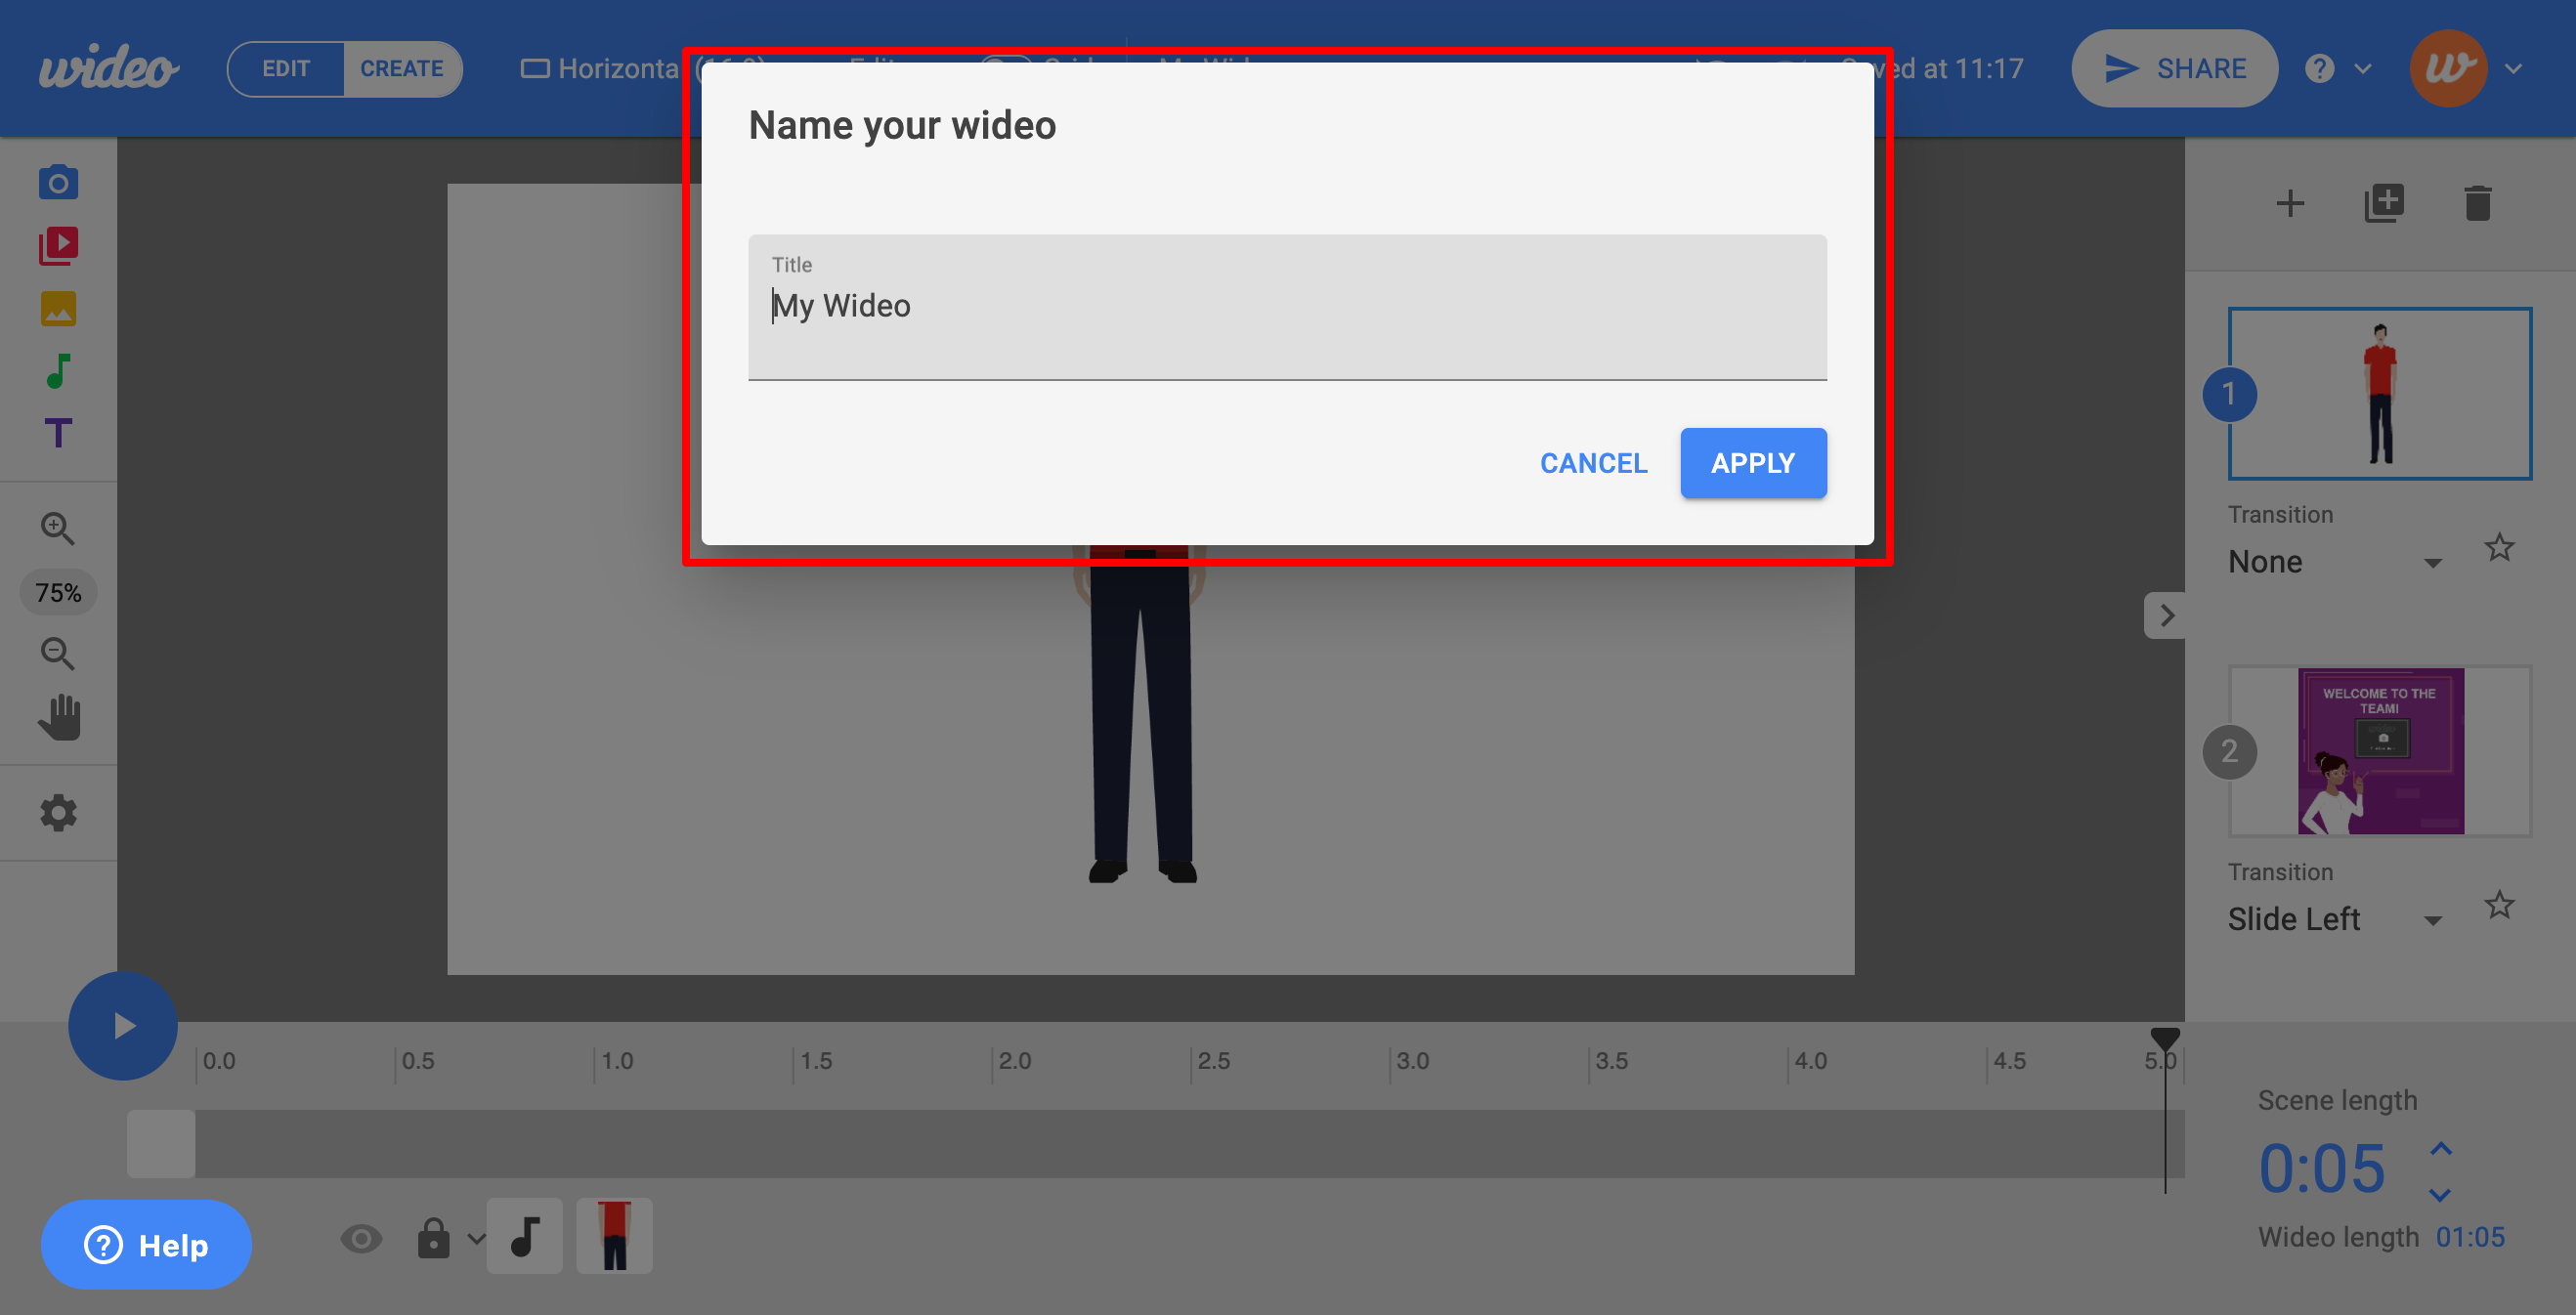
- Wideo title: name your Wideo to make it easier to find on your profile page.
- Share: download your wideo as an mp4 file, share it on social networks, or copy the embed or URL code.

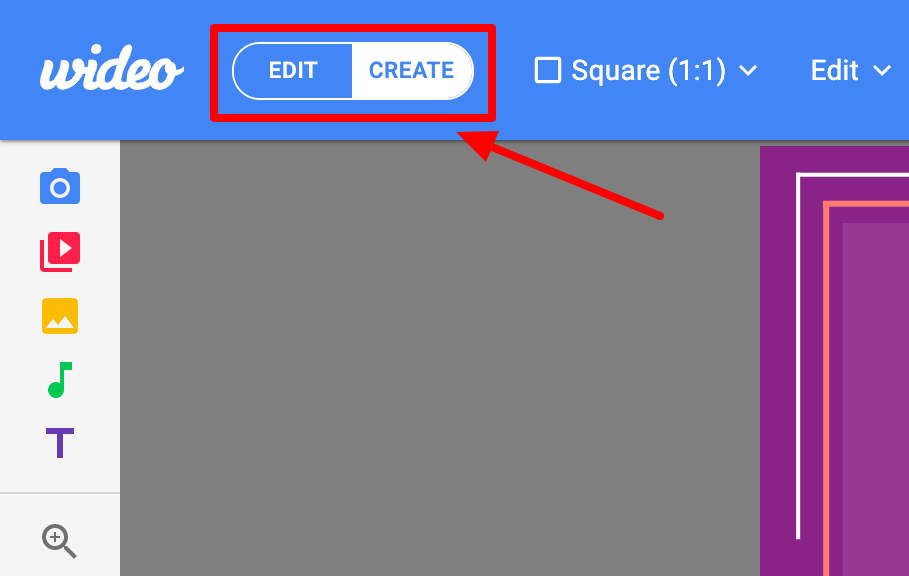
- Edit / Create Mode: switch to Edit Mode to edit texts, images, and backgrounds easily, or to Create Mode for more comprehensive video editing options.
- Help/Learn: find Wideo help resources.

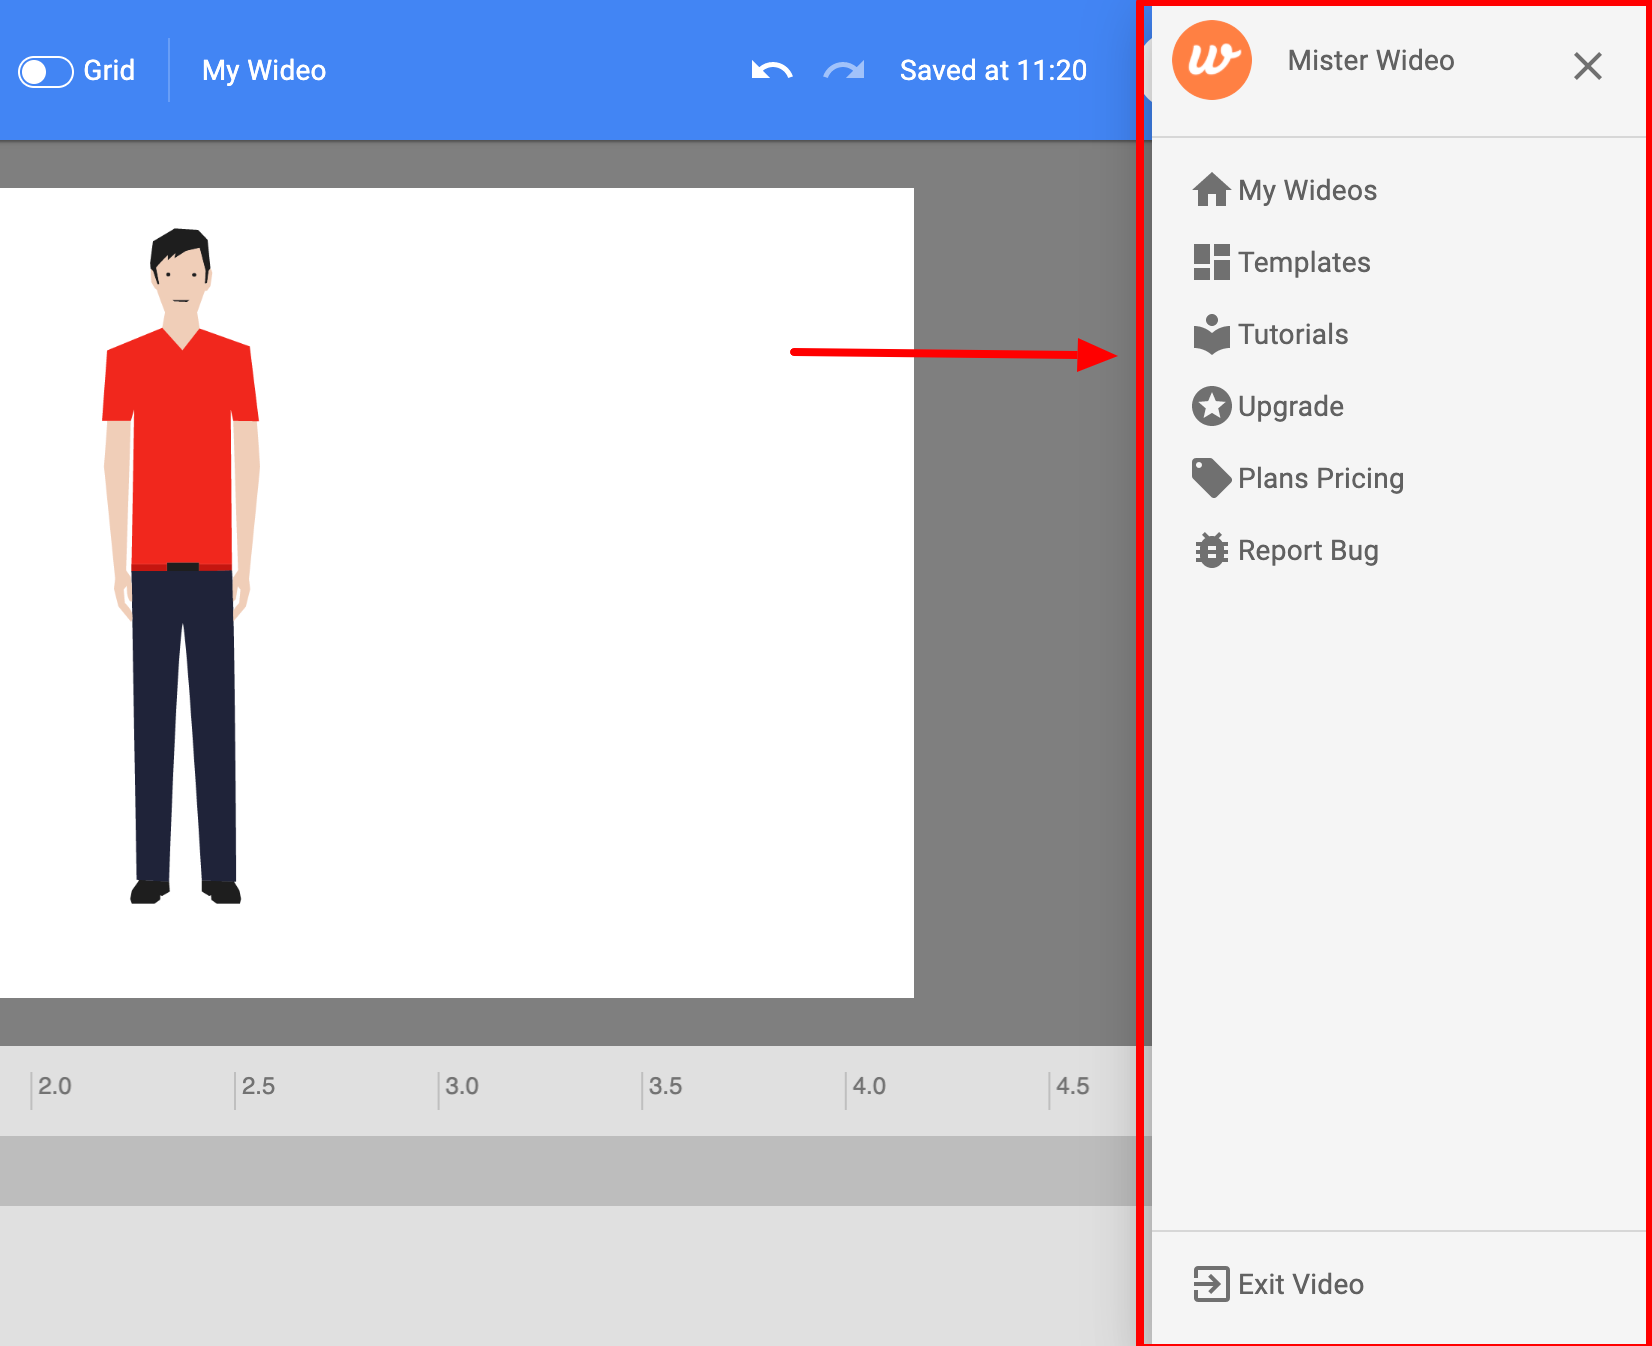
- Avatar menu: quickly access your wideos, the template gallery, the learn sections, the upgrade plan page, the pricing page, and the bug report page.

,